Post by cfesmire on Mar 23, 2014 15:13:41 GMT 1
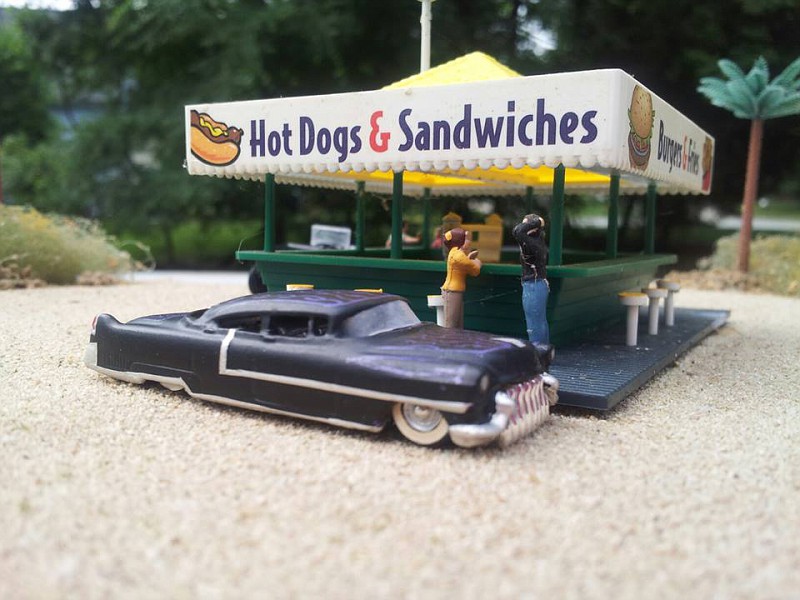
Hi all, been a while and I thought the board could use some new material. I went to the Amherst Rail show in Springfield, Mass. this year again and had the pleasure of sitting with the 1/87 vehicle club crew. Several folks wanted to take photos of their trucks in my barn interior diorama. They turned out pretty good but I realized it just isn't large enough for large trucks. So I promised Joe Enriquez that I would do something bigger for his spectacular trucks for next year. Couldn't wait, and here's what I came up with.
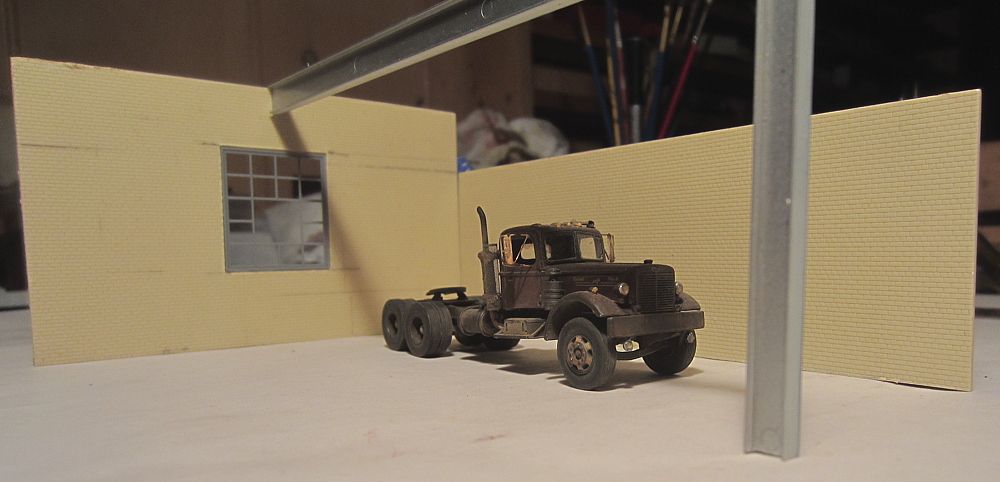
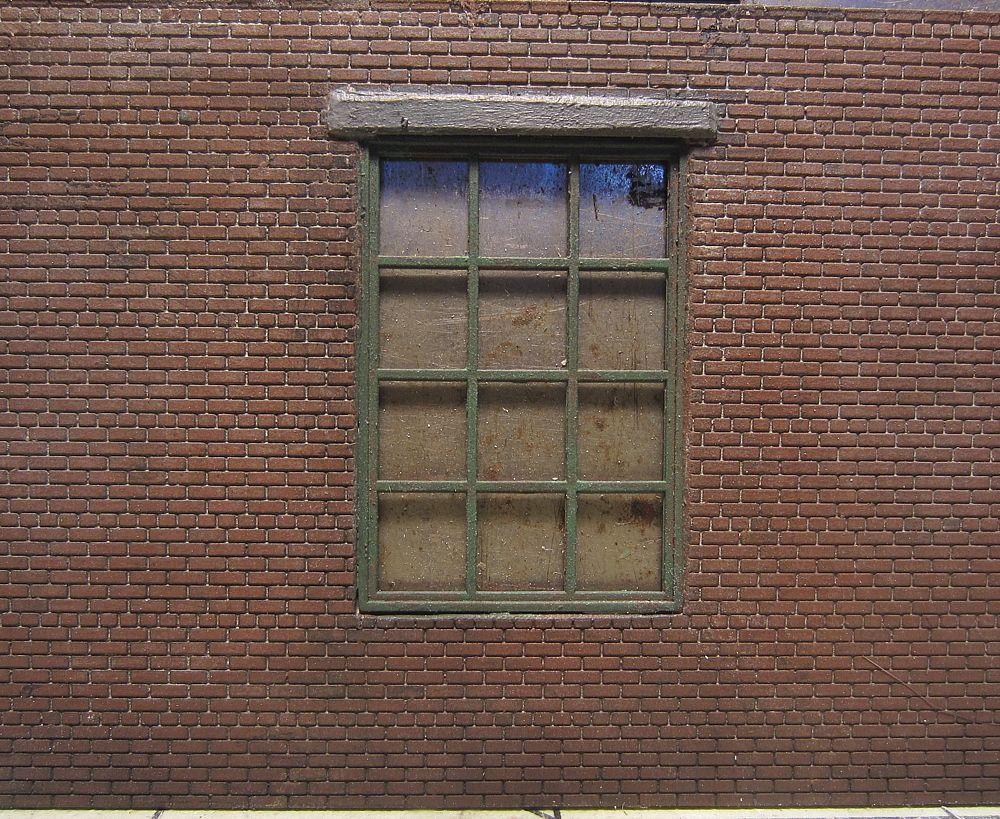
I used the same formula as for the barn with just two walls that would afford me a wide variety of camera angles. Starting with Evergeen styrene in a brick pattern and sheet styrene for the floor, I cut everything to size and installed the windows and door from Tichy. I decanted spray can satin black into the airbrush and gave everything a coat. Then I mixed cheap acrylic craft paint with Windex in Terra Cotta and Crimson Red and shot the walls followed by a coat of flat clear lacquer when dry. To that I applied a mixture of gray powdered artists chalks dissolved in alcohol, buffed with a paper towel when dry and hit it again with the clear flat lacquer. The windows and door were hand painted Ivy Green. I got the look you see here.

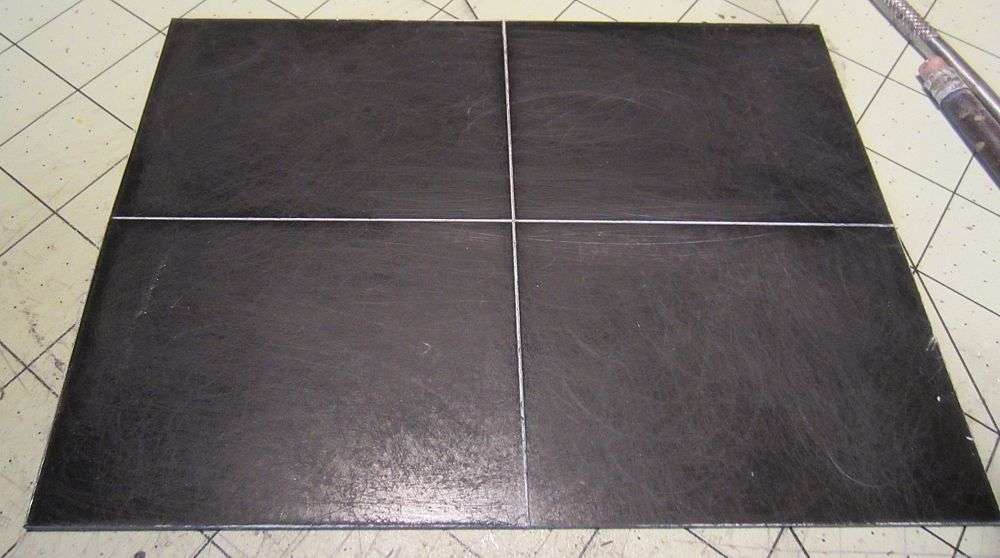
My attention then turned to the floor, already black. Expansion joints were scribed and it was shot with the acrylics in gray, tan, and black again mixed with Windex for the airbrush. A coat of clear flat lacquer and when dry, a variety of acrylic washes for stains on the floor.
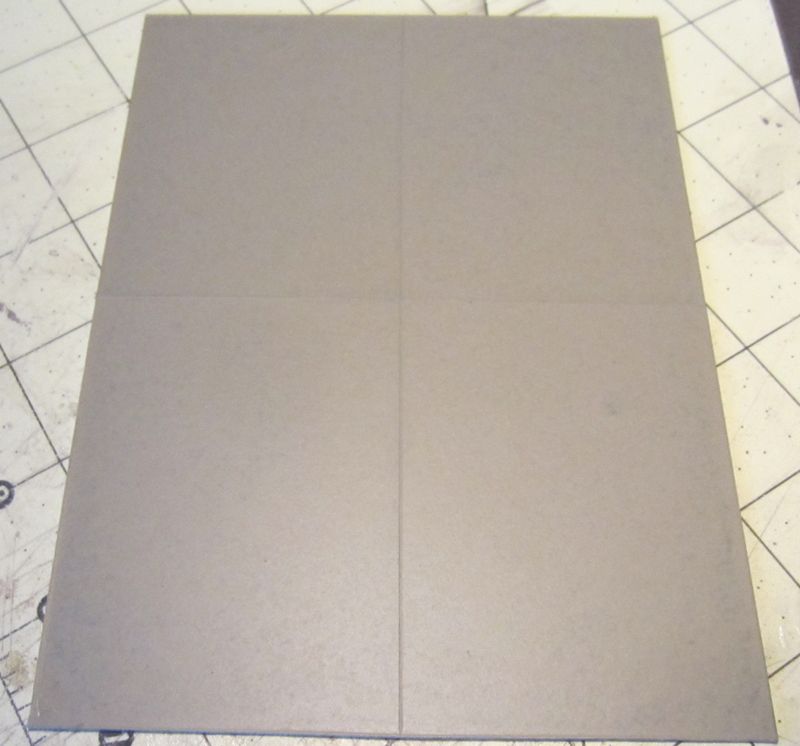

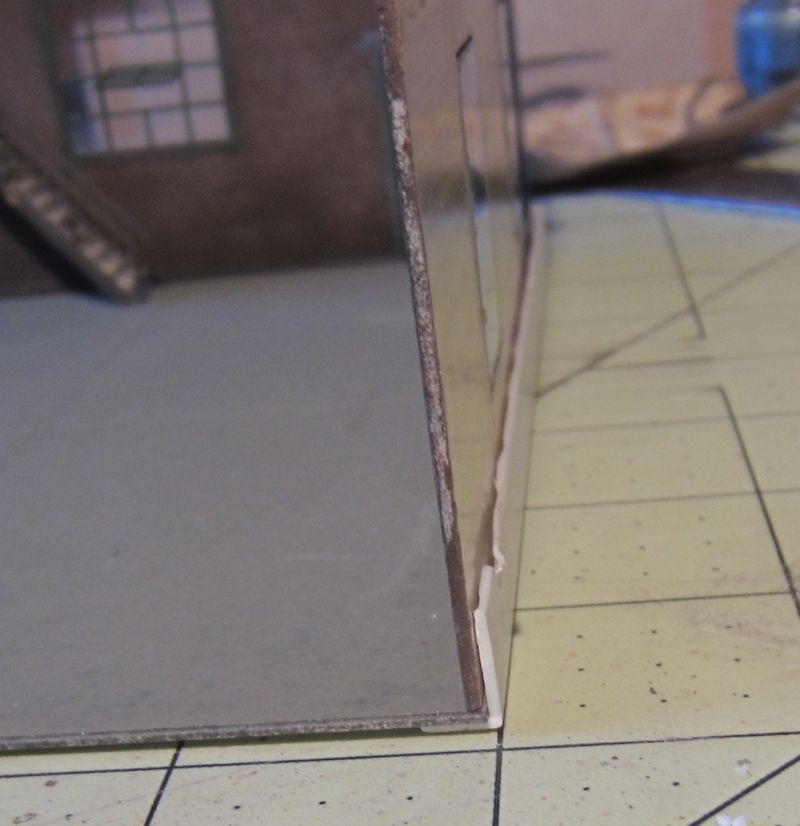
I glued a styrene L channel to the bottom of the floor and then the walls to it.
It was then a matter of dry powdered chalks to blend and add color, and work on detailing. I added a small storage loft with stairs. The detailing was fastened with MicroScale Liquitape. It is a glue that you paint on, let dry and it gives anything a tacky surface. Everything can be removed/repositioned without leaving glue marks.
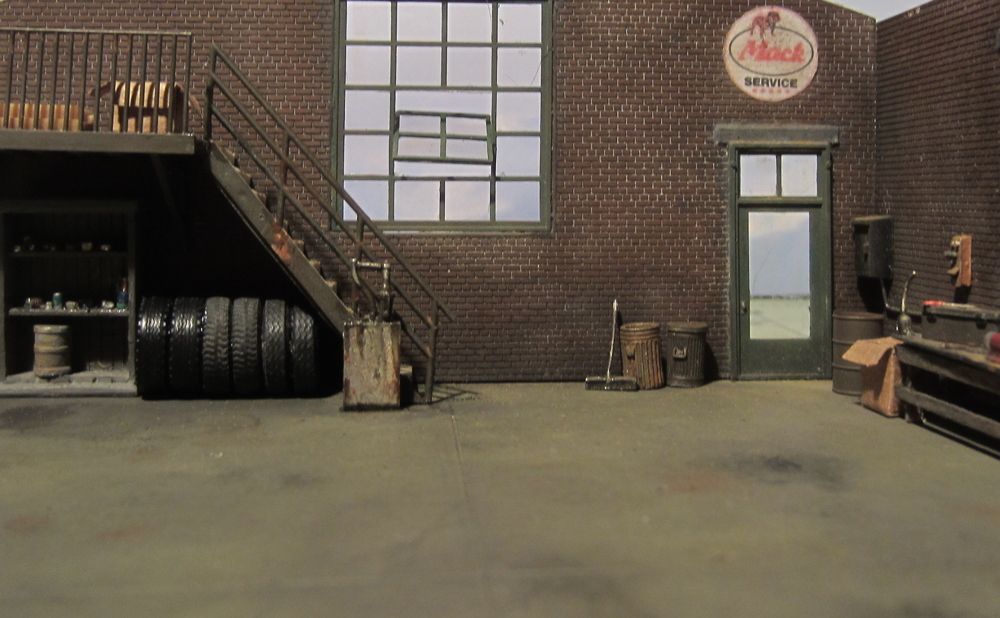

I notched the walls and some I beam styrene to make a roof system that is keyed to the walls so I don't have any posts to obstruct the camera view.
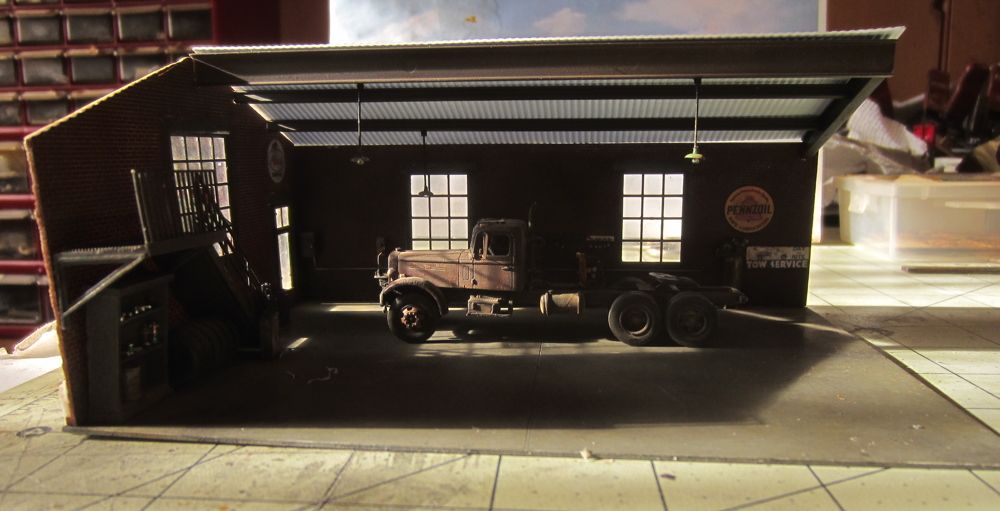
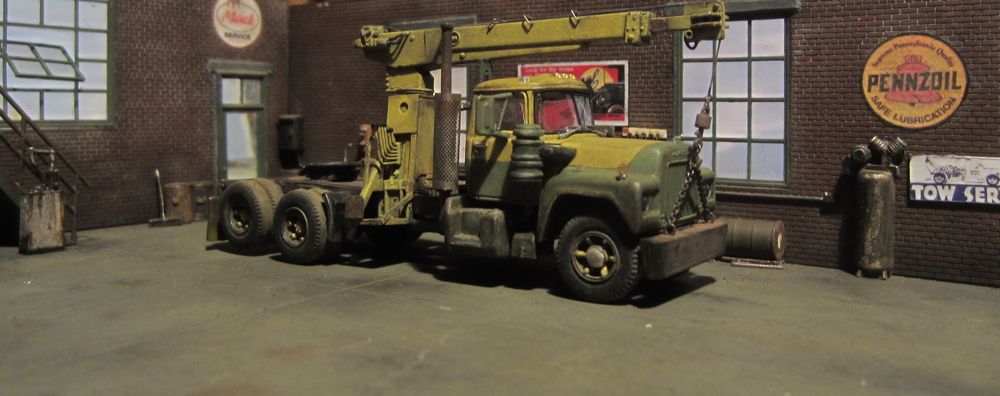
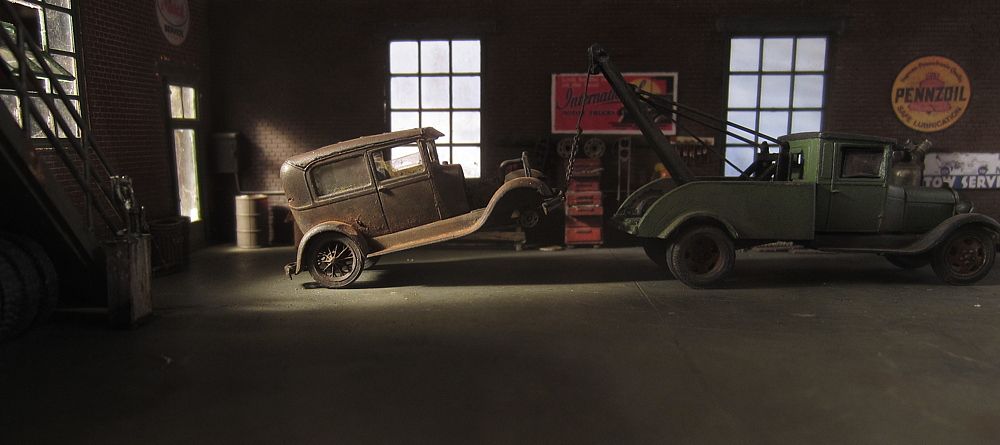
And some final shots of how vehicles will look. The large windows give some interesting light sources.
I used the same formula as for the barn with just two walls that would afford me a wide variety of camera angles. Starting with Evergeen styrene in a brick pattern and sheet styrene for the floor, I cut everything to size and installed the windows and door from Tichy. I decanted spray can satin black into the airbrush and gave everything a coat. Then I mixed cheap acrylic craft paint with Windex in Terra Cotta and Crimson Red and shot the walls followed by a coat of flat clear lacquer when dry. To that I applied a mixture of gray powdered artists chalks dissolved in alcohol, buffed with a paper towel when dry and hit it again with the clear flat lacquer. The windows and door were hand painted Ivy Green. I got the look you see here.
My attention then turned to the floor, already black. Expansion joints were scribed and it was shot with the acrylics in gray, tan, and black again mixed with Windex for the airbrush. A coat of clear flat lacquer and when dry, a variety of acrylic washes for stains on the floor.
I glued a styrene L channel to the bottom of the floor and then the walls to it.
It was then a matter of dry powdered chalks to blend and add color, and work on detailing. I added a small storage loft with stairs. The detailing was fastened with MicroScale Liquitape. It is a glue that you paint on, let dry and it gives anything a tacky surface. Everything can be removed/repositioned without leaving glue marks.
I notched the walls and some I beam styrene to make a roof system that is keyed to the walls so I don't have any posts to obstruct the camera view.
And some final shots of how vehicles will look. The large windows give some interesting light sources.