|
|
Post by nickvoges on May 28, 2008 20:04:32 GMT 1
|
|
|
|
Post by cfesmire on May 29, 2008 2:54:47 GMT 1
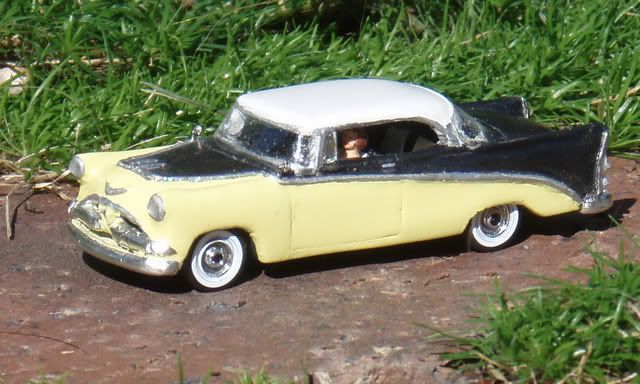
Nick, I thought you had the right idea in the first photo with the use of 2 colors. Try a dark base coat and then dry brush the lighter color on to simulate the wood grain. Start lightly with the dry brushing putting on very little at a time. I like using acrylic craft paints for this.
|
|
BillC
87thScale addict
Posts: 2,541
|
Post by BillC on May 29, 2008 5:51:45 GMT 1
Nick,
As Chester suggests, start with a thin coat of a darker base color, then dry brush over that with a lighter color and make sure all the strokes are horizontal. Be sure your brush is almost entirely dry and use very light strokes. It takes some time, but it's as close to wood grain as anything I have tried.
Bill C.
|
|
skunk
87thScale addict
5th B-day
Posts: 2,762
|
Post by skunk on May 29, 2008 18:46:16 GMT 1
I once made wood grain on a 1:24 dashboard (flat surface) with another method. I laid down a thick layer of dark brown, went over it once in the same direction as the wood grain with a rather coarse sandpaper. Then I painted lighter brown on top, this paint fills the grooves made by the sandpaper. Once the second layer was dry, I gently sanded with a very fine sandpaper until the first layer showed in nice, dark streaks. This also allows for a perfectly smooth finish.
However, I recognize that this might be hard to accomplish on the curved bodywork of the Mercury Colony Park (?).
|
|
|
|
Post by nickvoges on May 29, 2008 23:01:54 GMT 1
Thanks for the ideas, I´ll try them and will show you, wether it works for me.
Skunk: colony park? nearly!
I never understand the changings in america: Colony Park until ´76, this model based on the ´77 LTD2, called Cougar wagon. ´78 came the Fairmont? or the Zephyr wagon.
This model ran only for one year. So many names for the same bodys: Thunderbird, Cougar, LTD, Ranchero, whatever......
good night nick
|
|
|
|
Post by nickvoges on Apr 1, 2010 23:15:45 GMT 1
Hello guys,
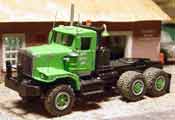
now I´m looking for the typical aluminium panel on the old american buses from the fourties/ fifties. Any ideas what can I use for it? Or are there sheets to buy? I´m planning twelve of this old GM buses in red and silver for the parade of progress. The bus seems quite easy, for no having windows....
For any suggestions I´m grateful.
Good luck and good night
nick
|
|
|
|
Post by DavidJohnson on Apr 2, 2010 13:19:07 GMT 1
Nick,
For ideas go to the Walthers on line catalog. In advanced search select "scratch building supplies" as the category and type "corrugated" as the keyword.
Several products are shown, some from European sources. I have not used any of these myself
good luck,
Dave
|
|
|
|
Post by DavidJohnson on Apr 2, 2010 13:48:37 GMT 1
Nick,
You will need to check the dimension of the grooves. The corrugated sheets are probably for model building siding, and the grooves could be too small if the material is for 1/87.
Fluted is the correct term for the bus panels. In Walthers the search only yields passenger rail cars. A scrap rail car body is another source of material.
Dave
|
|
|
|
Post by nickvoges on Apr 3, 2010 22:20:15 GMT 1
Dave, thanks a lot for this information. I got the space between the rips, but when I looked for better photos, I recognized, that the flutes aren´t round, maybe it´s easier to glue only seven stripes over the side. I will make the third generation of this bus, which seems less complicated at the side.
But your mentioned sites are very helpful for other projects.
Another problem will be the three dimensional writing on the sides, when I can´t make this, I´ll try a decal which seems to be 3D.
Best regards nick
|
|
|
|
Post by nickvoges on Jan 27, 2011 22:45:33 GMT 1
Hello friends, anyone could make some decals showing below? You don´t need a printer for white, I think it´d be possible to print on white decal foil. I ´d pay or make a change with the SHO. nick Attachments:
|
|